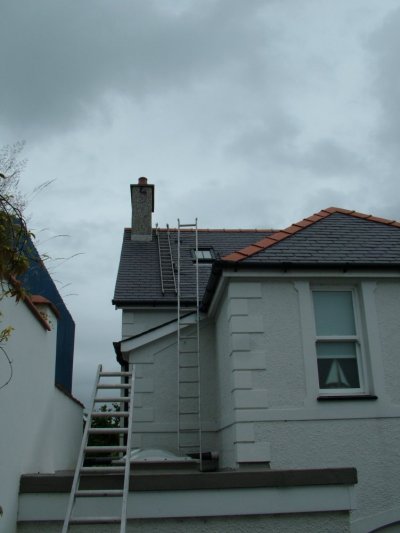
Colony in chimney in Abersoch (Arg)
The colony was entirely in a chimney pot of a three storey house whose owner requested that the bees be removed alive. The swarm that gave rise to the colony probably arrived about 4 weeks previous to the bees being noticed by occupants of the building.
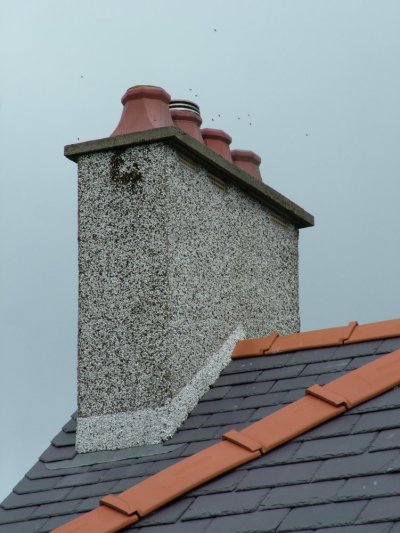
15 July 2011, 11.30 h
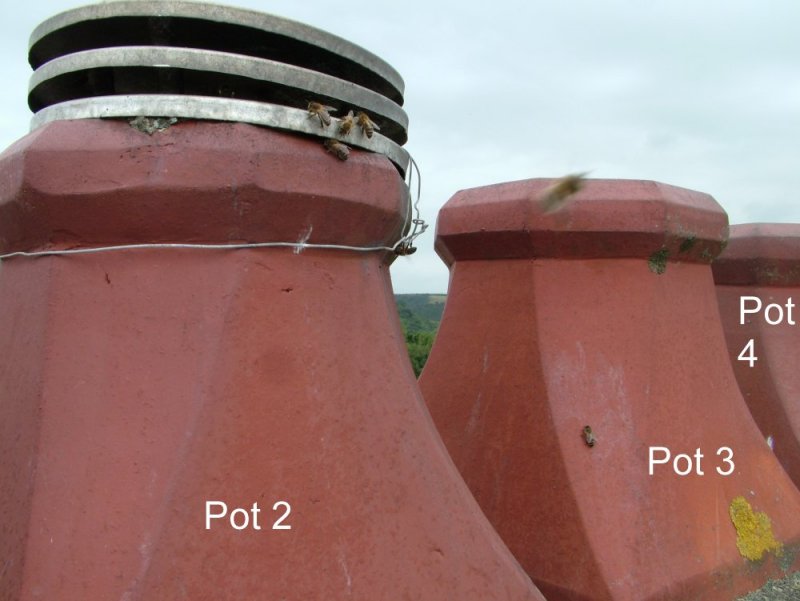
The colony was in the second pot from the left under an aluminium cowl. The bees were entering through the slots of the cowl.
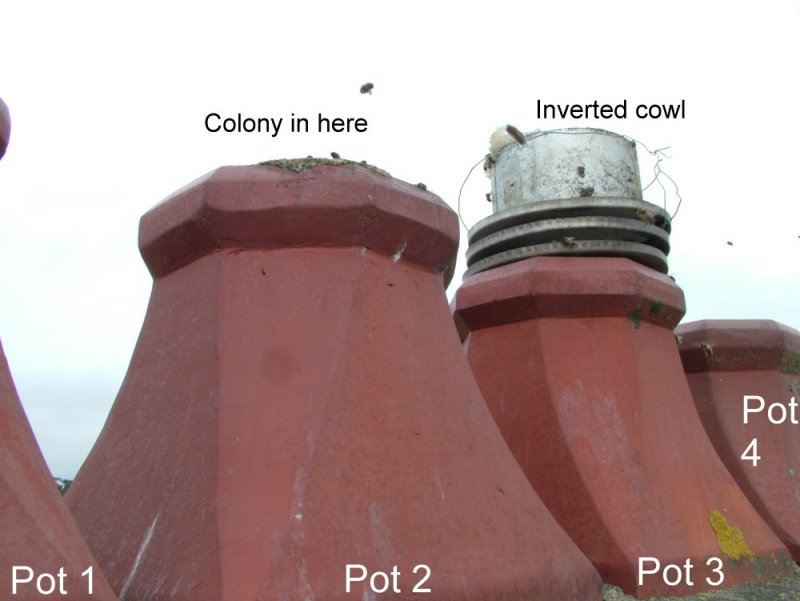
The cowl was removed and inverted on the third pot. Some honeycomb is visible adhering to the cowl. The bees showed apparently no concern at the removal of the covering, although many took to the air.
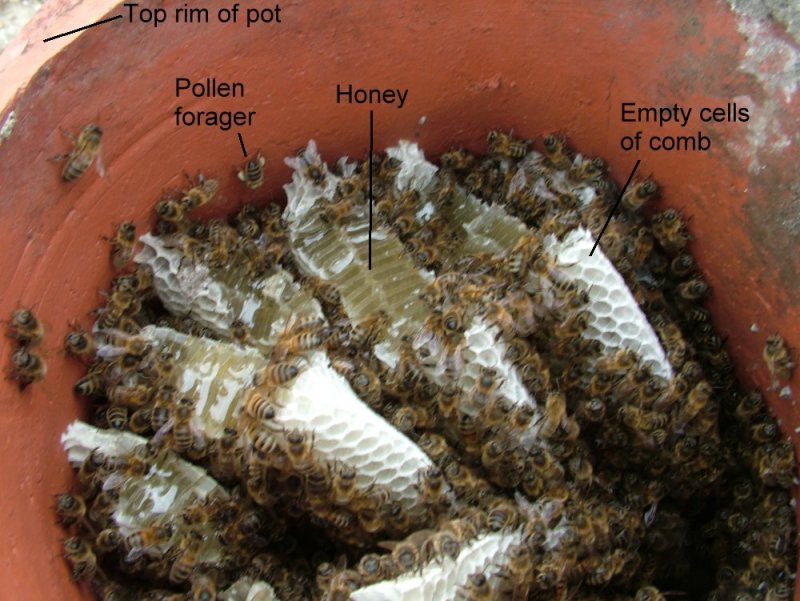
Below is a photo taken down chimney pot 2. The comb is supported by the cowl and the adhesions to the side of the pot. It is typical of the situation of a feral (wild) honey bee colony in its natural nest in a hollow tree. Disused chimneys capped without insect proofing make ideal honeybee nest cavities. The majority of bee removal callouts are to chimneys.
A bee vacuum was installed and about to be used when it began to rain, making the roof slippery and use of electrical appliances dangerous. The job was suspended after 1 h 45 minutes work on site.
19 July 2011, 11.15 h
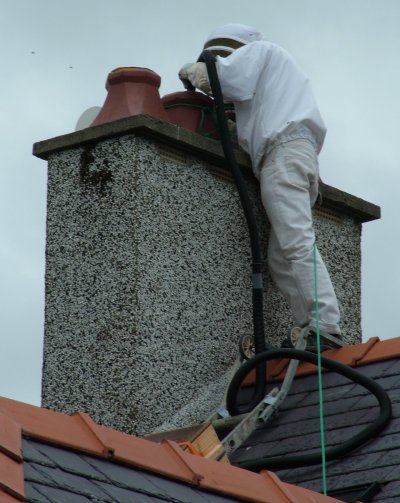
Below: Bee vacuum in use.
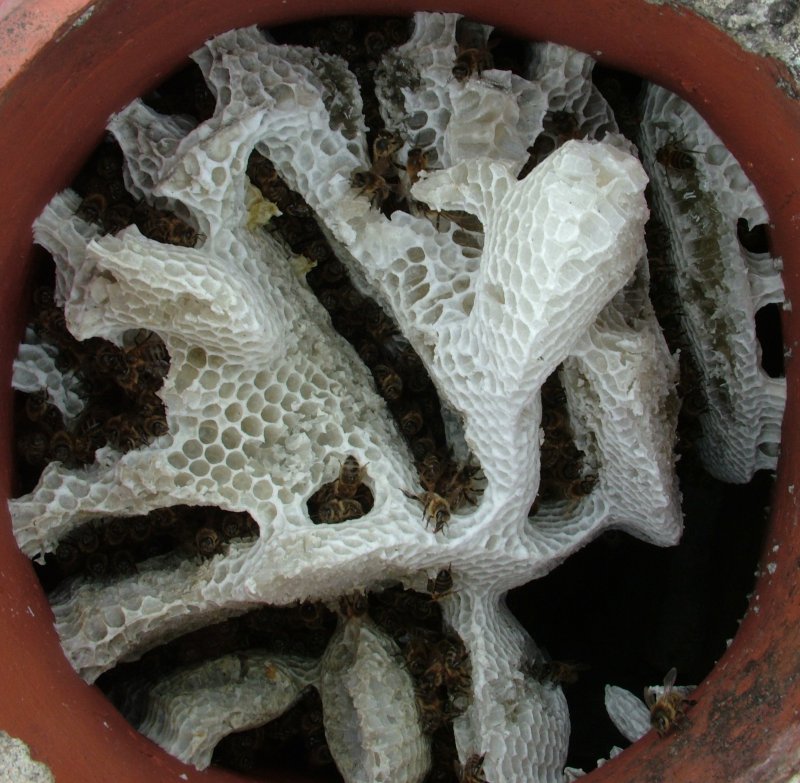
Below: Top of nest after initial vacuuming.
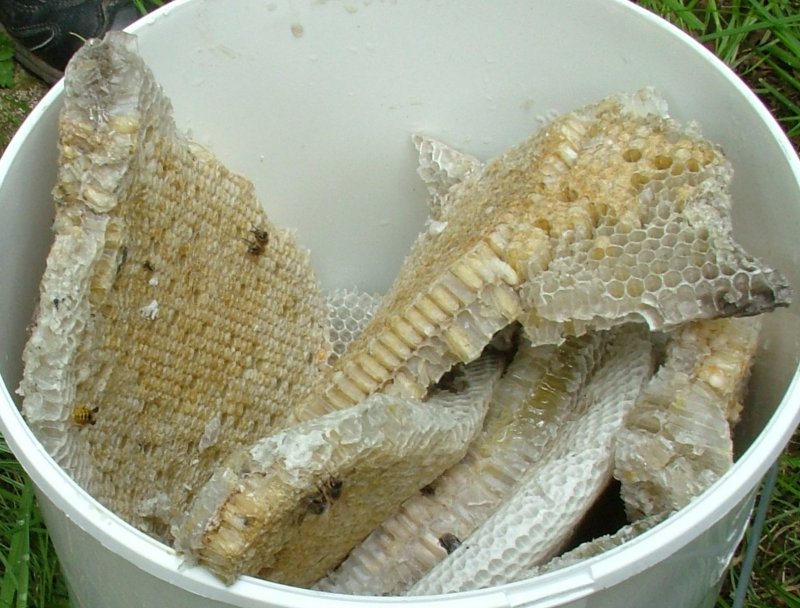
Combs were cut away, lifted out one by one, freed of bees with the bee vacuum and placed in a bucket. Bees were vacuumed from the nest as they rose to the surface. One comb containing honey spontaneously separated from the chimney pot and fell down the flue.
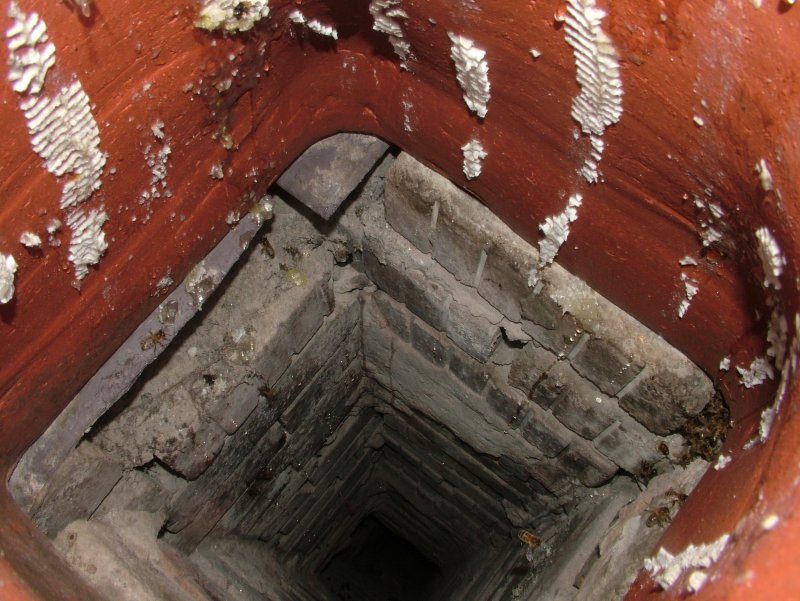
Below: Nest removed. A few foragers have returned.
The cowl was replaced on the pot that had the nest. To prevent bees entering the flue through the pot in future, a piece of polypropylene garden windbreak mesh was tied with cable ties to the lower opening in the cowl. It is recommended that all disused chimney pots be fitted with insect-proof caps such as C-Cap. C-Cap with a built in insect mesh -- which should be specified when ordering -- is available through suppliers listed at http://www.chimneycap.co.uk .

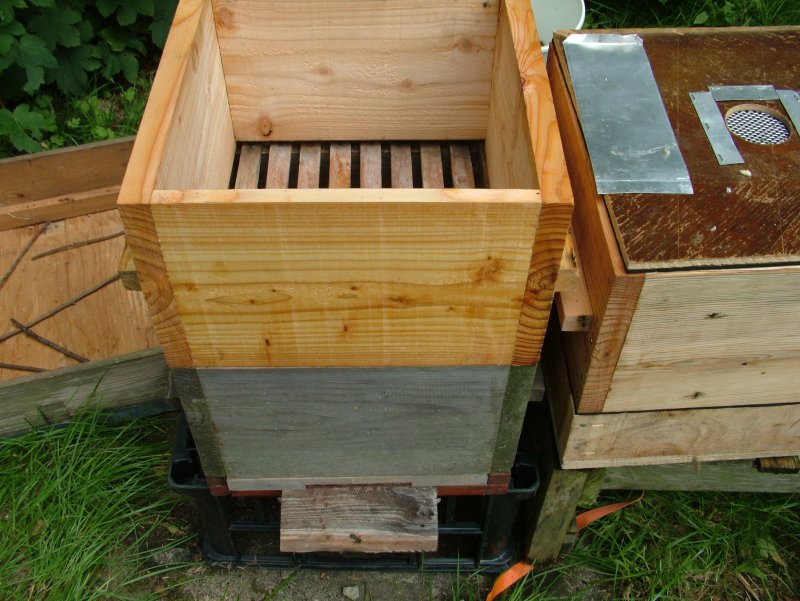
The bees and comb were transferred to an apiary where they were united in a Warré hive . The bottom box of the hive had chicken wire nailed across its lower rim to support the comb.
Below: Hive box prepared with chicken wire to retain comb.
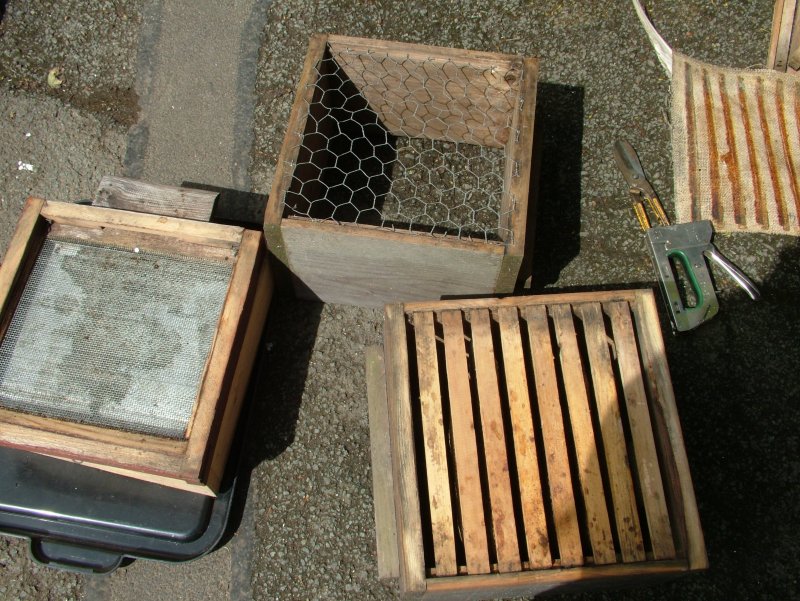
Below: Hive box with chicken wire, hive floor, bee vacuum, brood comb.
Below: Closeup of brood comb.
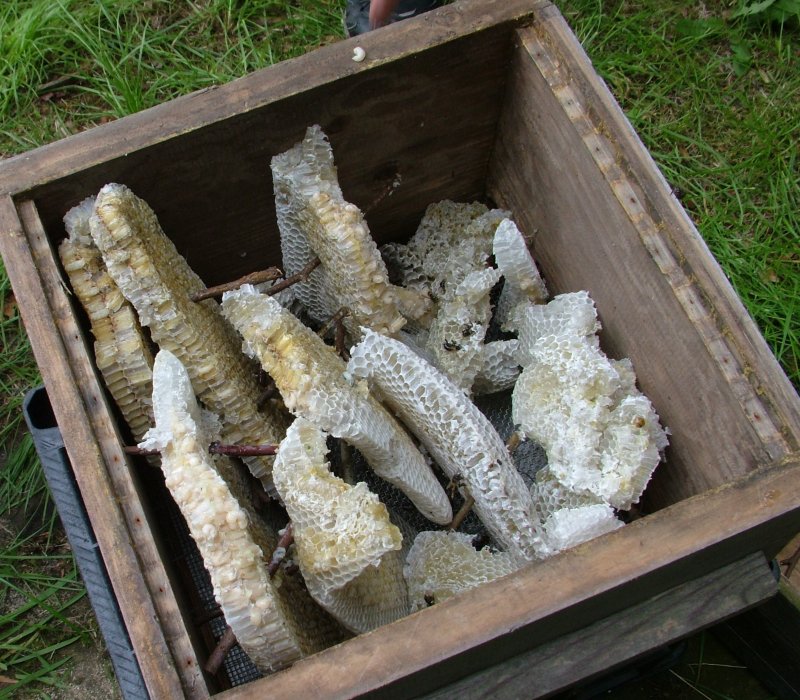
Below: The combs from the chimney were placed on the chicken wire propped apart with twigs. Honeycomb was also added. Honey from the damaged combs is subsequently fed back to the bees.
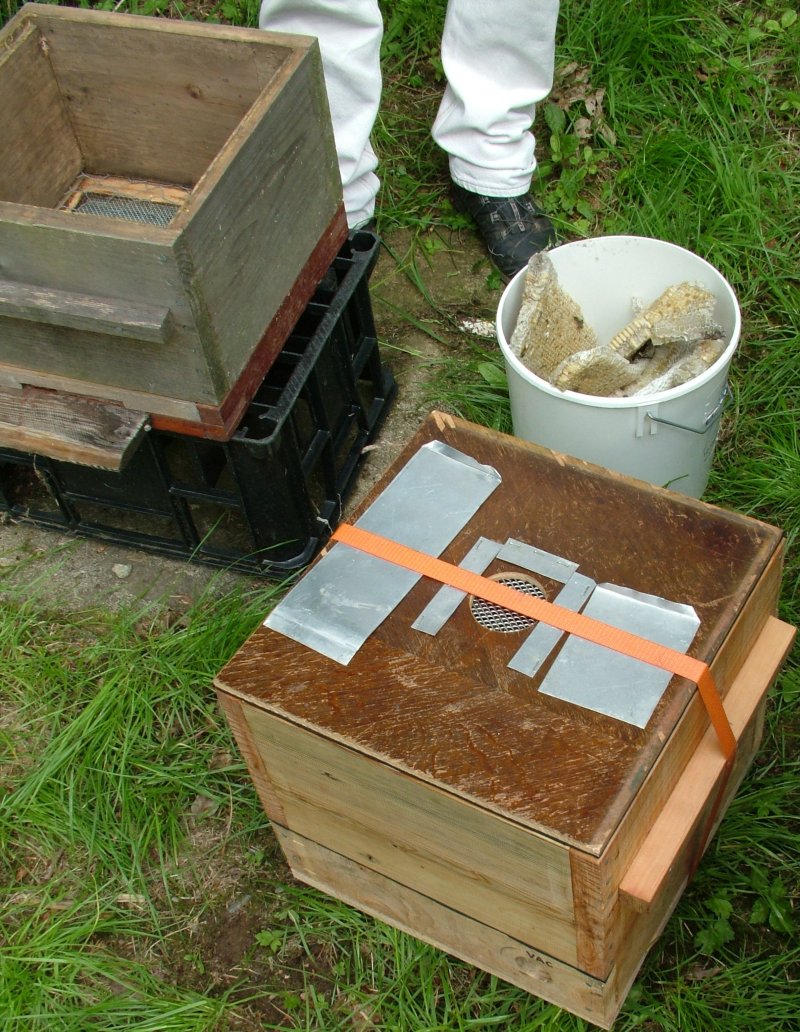
Below: Hive with box to act as funnel to receive bees from bee vacuum. Bee vacuum on the right.
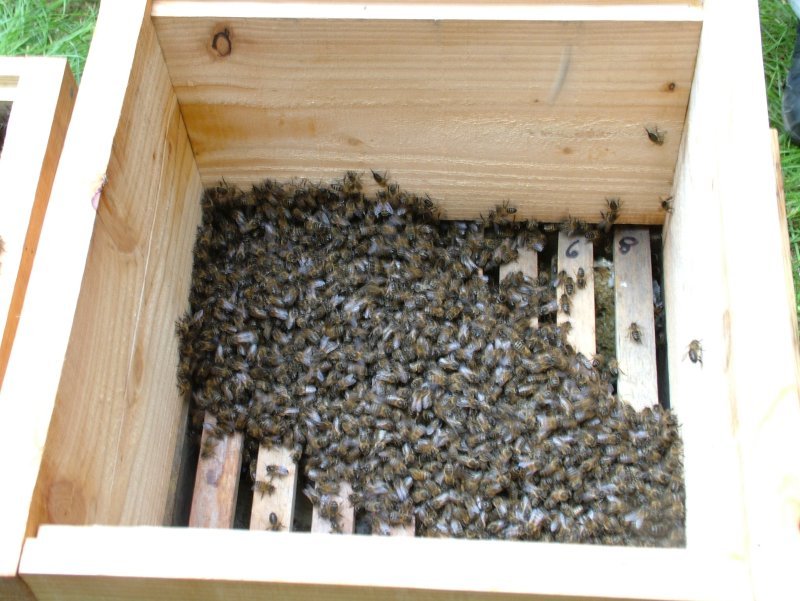
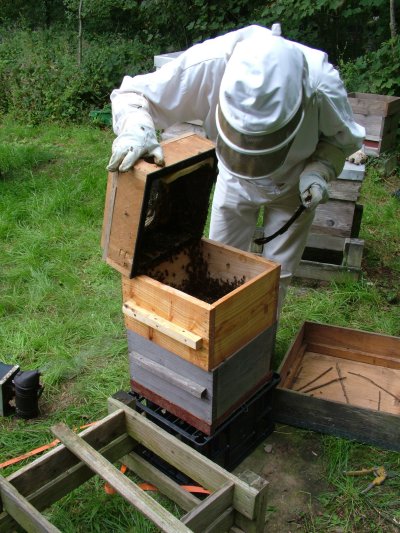
The lid of the bee vacuum was lifted with the artificial swarm cluster hanging from it and the bees shaken off it into the hive. They immediately moved down onto the combs.
Below: First bees hived.
Below: Brushing bees from bee vacuum with a feather brush.
Below: Last bees running in to hive entrance.
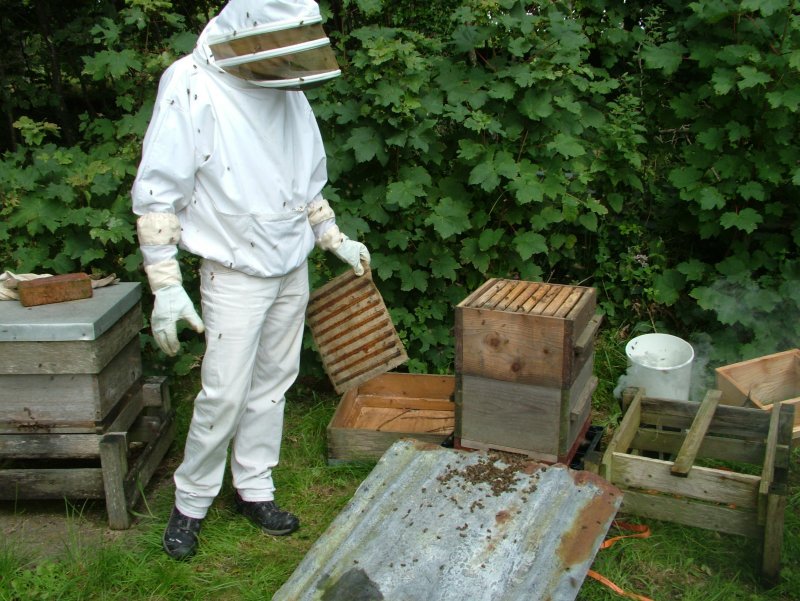
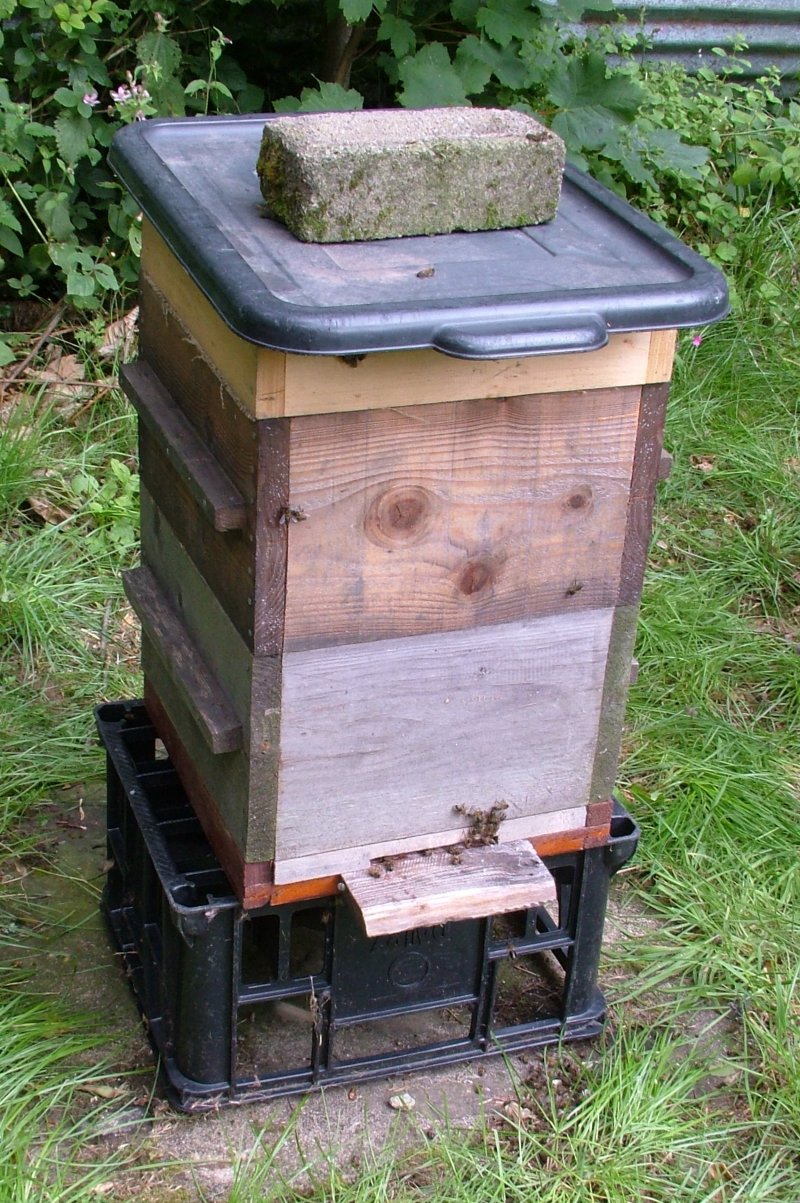
Below: The colony was left to sort itself out. Below: The hive with a temporary roof and stand.
David Heaf's bee removals index